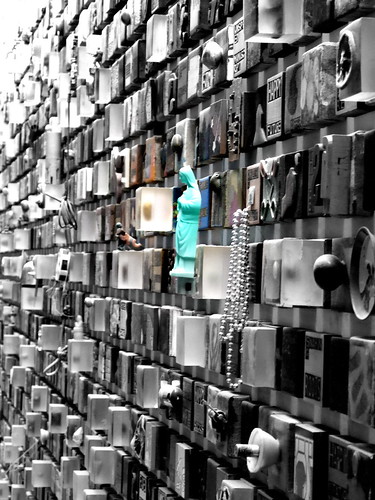
 I have been using focal b&w quite frequently but I never elaborate on the simple process of converting a color picture to focal b&w in Picasa. It really is a simple process
- Select for "Focal B&W" in Effect tab in Picasa
- Adjust sharpness

- Adjust size of the circular area that remains on color while the rest of the image turns into b&w
- To achieve a film grain look, I prefer to use "Sharpness" adjustment similar to "sharpen" the image by one or two notches in the Effects section. Usually one notch is enough as the sharpening in Picasa tends to be over-done and results with artifacts.
- The final step I usually take is to adjust shadow, highlight and lighting to achieve a contrasty look in the final b&w conversion

Related Posts:


3 comments:
Do you prefer using Picasa over other photo editing software?
Picasa is free software and I find it capable for most of the basic editing. It is fast and convenient. But for serious editing, a better software is needed.
Your way of telling everything in this article is genuinely pleasant, all can easily understand it, Thanks a lot
바카라사이트탑
Post a Comment